
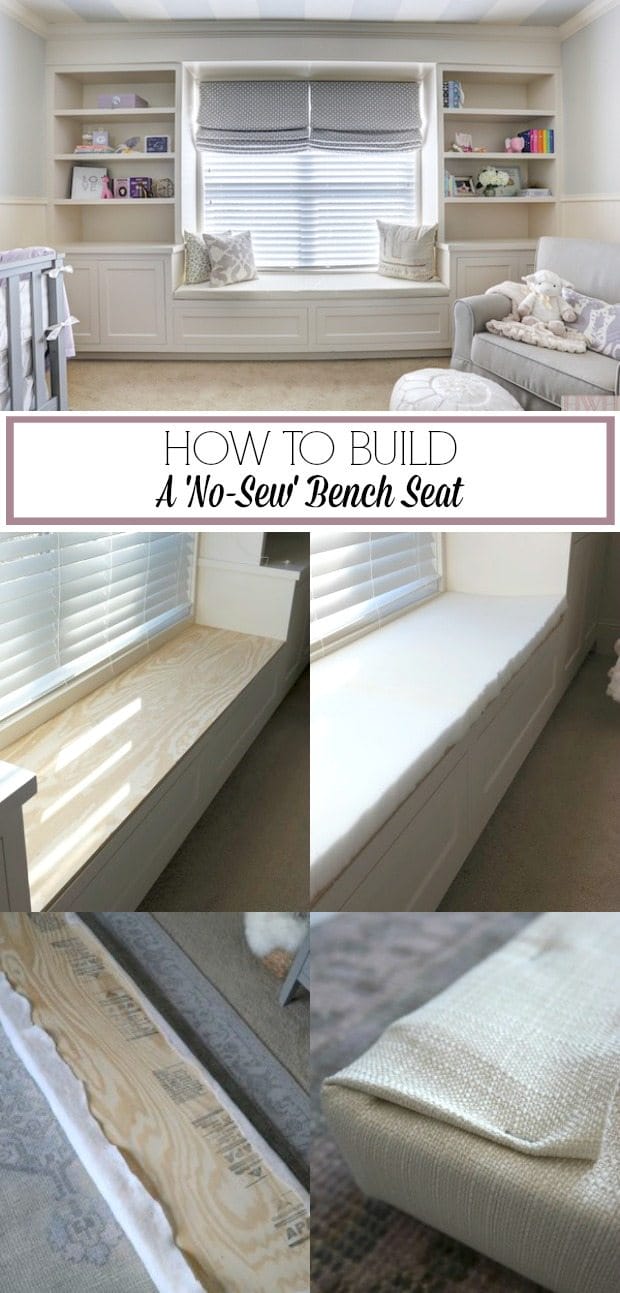
How to Build a No Sew Bench Seat
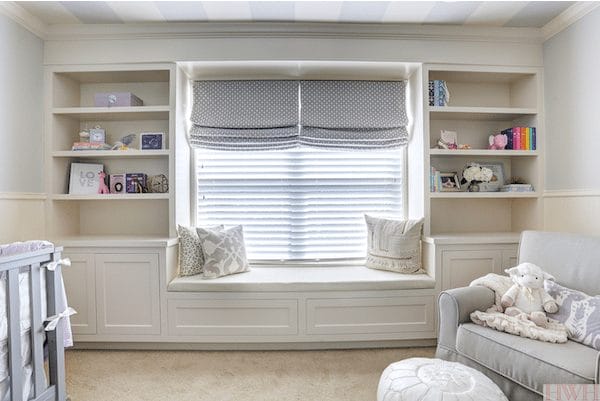
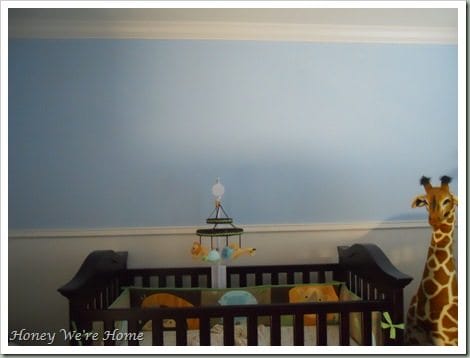
Ever since we showed our soon-to-be baby-girl’s nursery, a frequent question has been about the bench seat. It was an easy and inexpensive DIY project, and the bench seat definitely adds to the charm of built-in bookcase. I really wanted the seat to be functional and not just a pretty spot to look at. We only have 2 months until she is here and I envision my 5-year old sitting on this bench seat while we’re in here together and also her when she gets older.


HOW TO BUILD A NO-SEW BENCH SEAT
SUPPLIES
Measuring tape
Plywood (cut to size at hardware store)
Foam poly mat cushion
Wood glue (optional)
Iron (optional)
Batting
Staple gun
Serrated knife
Scissors
Fabric
INSTRUCTIONS
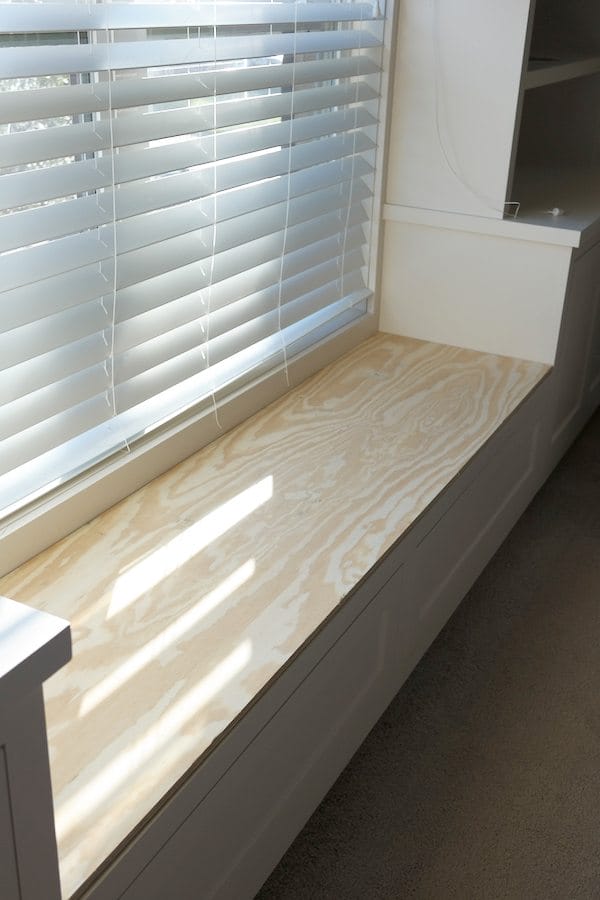
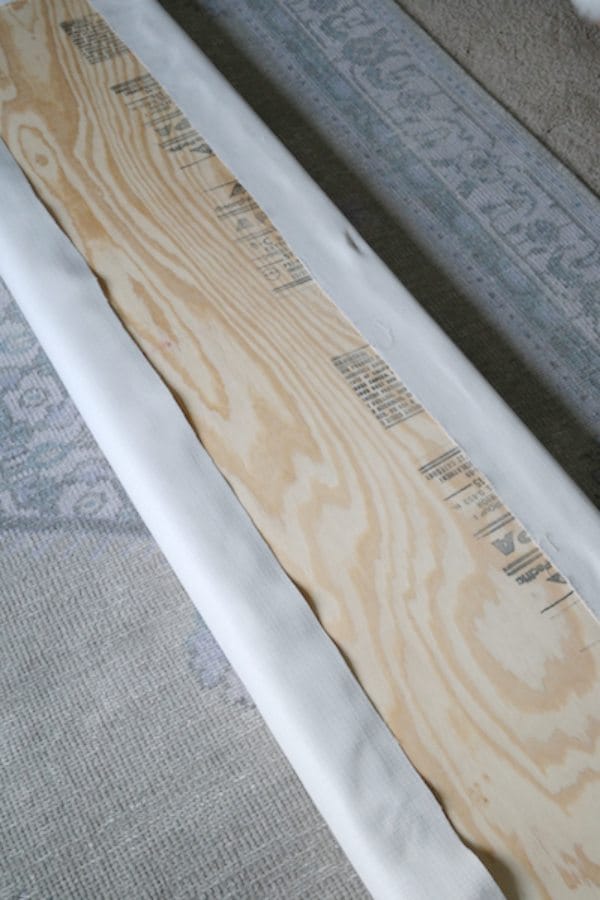
1. Measure the size of bench seat you need by length and width. I got my lumber at Lowe’s and had them cut it to size at the store. It was tricky getting it home since I have a smallish car, but we made it work. If you need to, you could have them cut it in half and then glue it back together when you get it home.
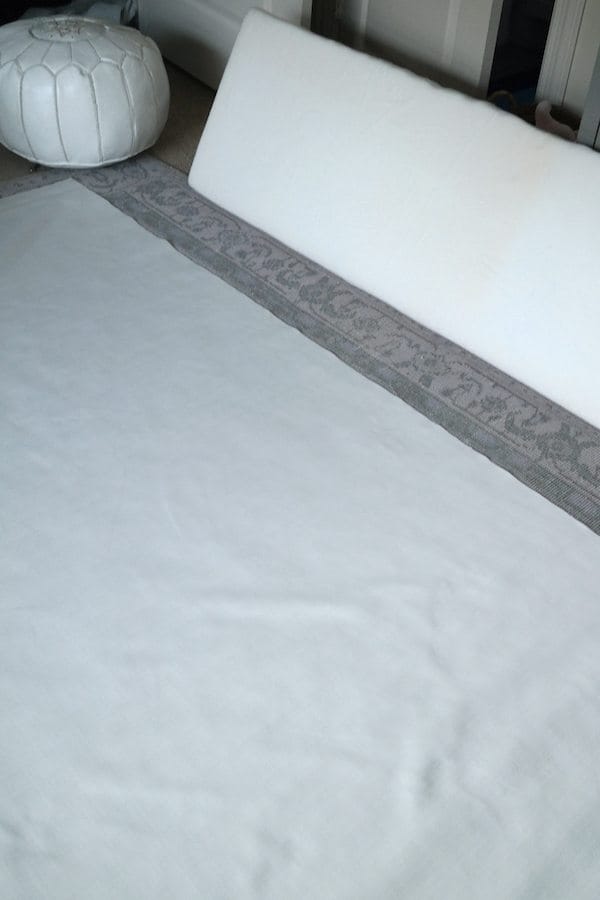
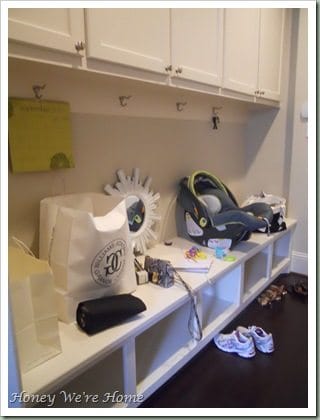
2. Measure and cut your poly foam. I purchased one roll of 2″ x 27″ x 76 inches, but in retrospect, I wish I had gone with the 3-inch foam cushion because it provides more height/cushion and looks more luxe than the 2-inch. 3-inch is what we have on the mudroom bench seat.
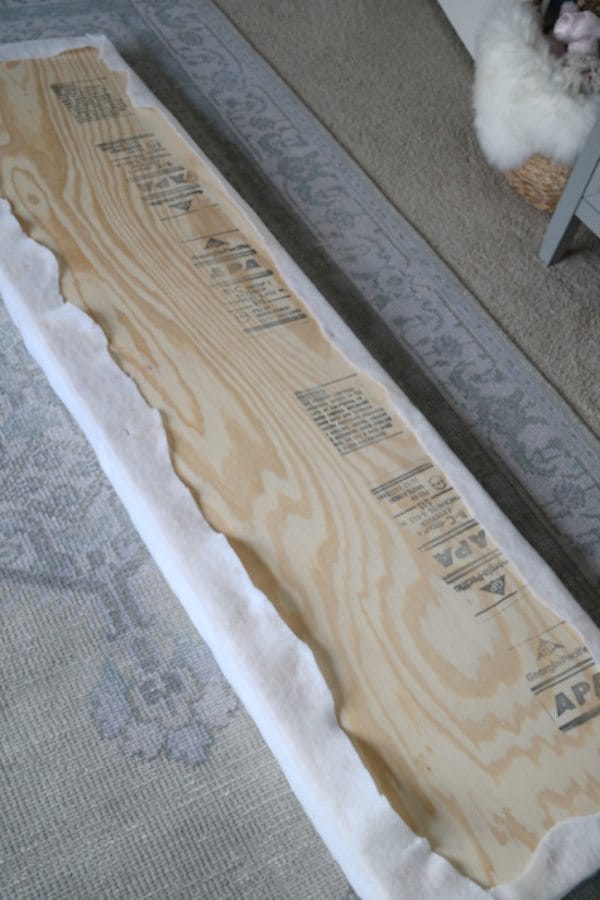
3. Cut the poly foam with a serrated knife to fit on top of your wood board.

4. You can use wood glue to affix the poly foam to the wood and wait for it to dry. I skipped this step this time.
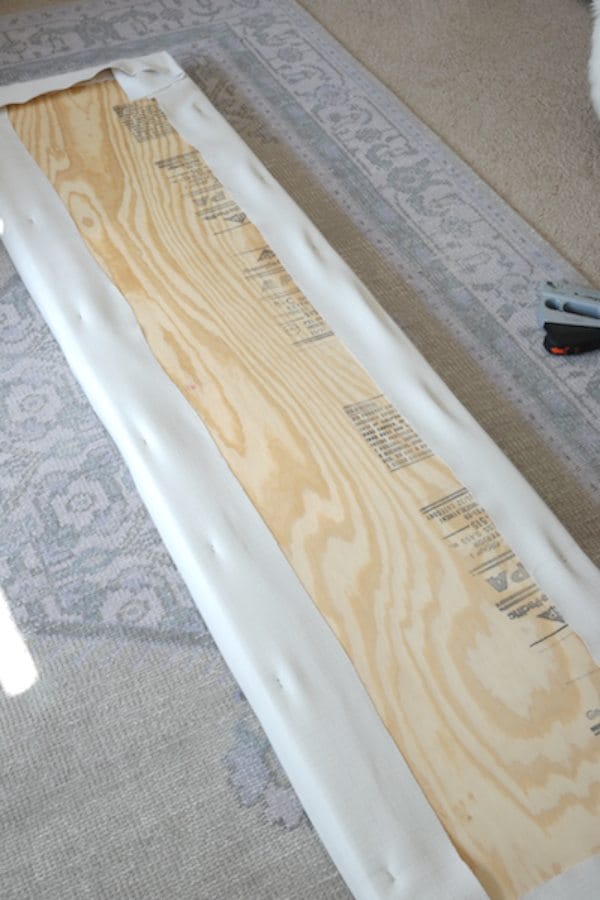
5. Cover the foam and board with your batting and trim to fit. Use a staple gun to staple the batting to the underneath side of the wood. Be careful to smooth the batting before stapling so that when you cover it with fabric, it lays smooth and flat without any wrinkles.


6. Depending on your fabric, you might need to iron it to get out any wrinkles or creases before attaching it to your board. I didn’t need to do that here.
7. Lay the wood, batting side down on top of your upside-down fabric. Pull the fabric taut and staple it to the wood. You may need to lift the board and smooth before continuing.
8. When you get to the corners, it’s helpful to trim the excess fabric and I just folded them like I would wrap a gift.
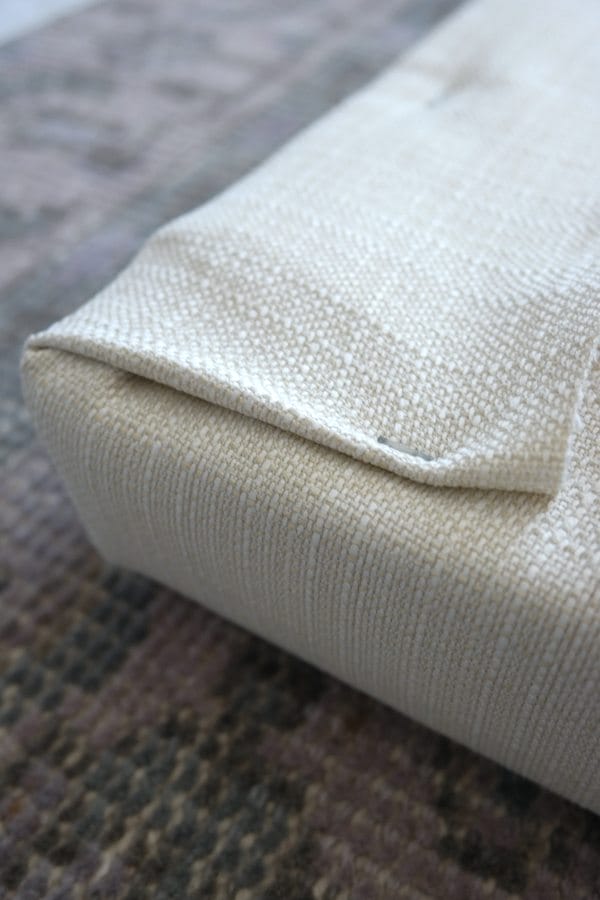
I still might switch out the 2-inch foam for 3-inch. I think that will also help make that left corner more at a straight angle, which is picky, I know, but it’s kinda bugging me.
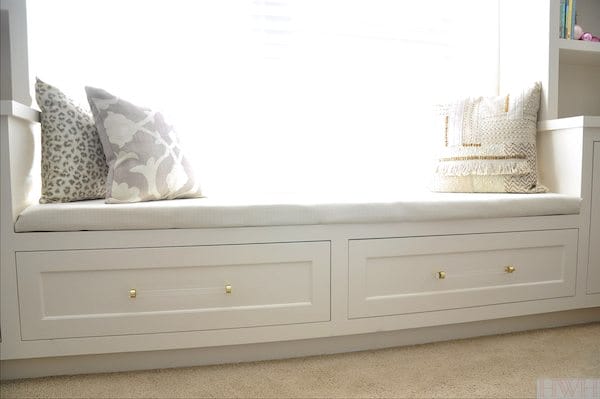
All in all, this is a super easy DIY project and much less expensive than purchasing a custom bench seat. The hardest part was choosing a fabric! I ended up going with a creamy fabric (from High Fashion home, a local fabric store) with some texture so that the pillows, rug and window shades could be the focal points and the bench seat would be a neutral backdrop.


We cannot wait to meet this baby girl and bring her home to her sweet nursery!
__________________
keep in touch!

affiliate links used


Super smart way to upholster the seat! It looks great – the bench seat and just all of it. Such a classically beautiful room.
I wish I had the skills to do it better with something fancy like welting or tufting, but this works for now!
Love! We are looking to do something similar in our nursery – I was wondering, how deep is your bench seat?
Thanks Jill, I think it's 17 inches.
Beautiful and yet so easy to diy!
If I can do it, anyone can!
There are so many window seats in our house just dying for a cushion…including one in little man's room! I'mm have to have Chris whip one of these seats up!
Super easy, just takes gathering the supplies.
I love this room. It is so subtle and beautiful!!
Quick question if you don't mind…I am looking to have built ins put in around my fireplace and I know you had said in a post a while back that you were quoted around $2k for it and I was just curious if that included materials? Thanks so much…I am just looking to have something to go off of as I begin my research 🙂
Yes, that was for everything including working with me on the design, providing a mock-up with dimensions, materials, building and installation. It took two guys almost a whole day to install. But, it did not include caulking and priming it. It's good to have a point of reference. I got another quote or two for around the same price or higher.
this is perfect! my daughter has a bench seat/bookcase combo just like this and I've been wanting to add some padding for a while now.
Yeah, it adds that softness and you have a million options with fabric choices!
Great tutorial, Megan. I have a smaller bench seat that needs more padding. I already have the fabric but have not yet bought the foam so thanks for the tip about the 3". I'm wondering what type of serrated knife you used to cut the foam and also wondering if a box cutter would work. Hmmm.
Hi Barbara, I just used our long kitchen knife. I think the box cutter wouldn't be long enough to cut through the thick foam. I used long up and down slices to get through it with the knife. I have a pic – I'll update this post so you (and others) can see. 😉
Looks great Megan. DIY for less, and you can easily change it down the road too. Regarding cutting the foam. If you or a friend happen to have one, an electric knife works like a CHARM. I bought one years ago super cheap just for this type of thing.
Fantastic! You did a excellent job! It looks wonderful, and I love this – thank you so much for sharing. I am inspired to see this tutorial.I also try this.