
Creating Graphics in PicMonkey
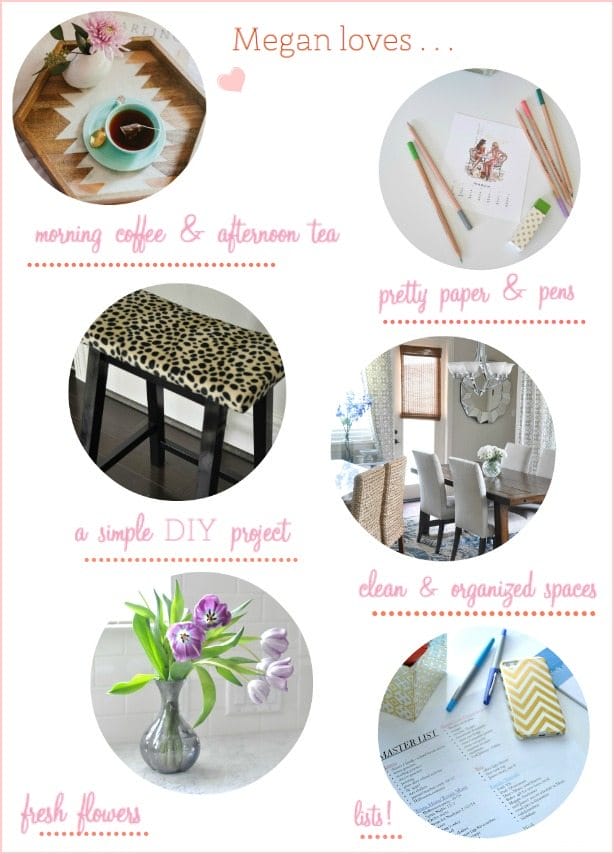
I’m so excited to share today’s post with you! I don’t know how to use Photoshop to make graphics and I’m always admiring those bloggers and graphic artists that create such pretty images for their blogs. But, I figured out an easy way to make something similar in PicMonkey (a free! photo editing site). I’m working on a new blog design and have been playing with making an “About Me” page. Here’s what I came up with for a draft using PicMonkey.

tea image via The Glitter Guide
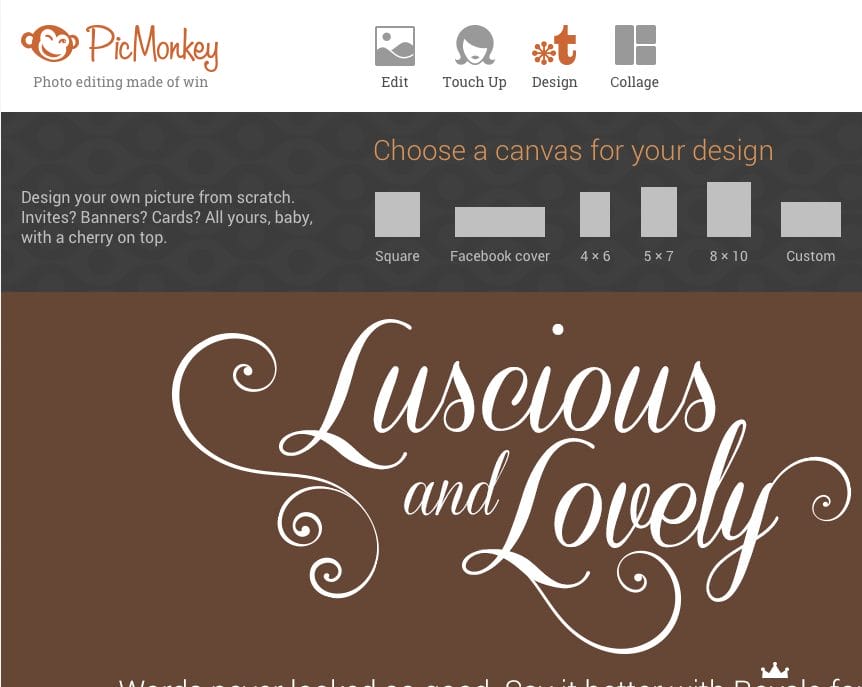
1) I started with hovering over the “design” icon at the top of the page, which then brings up the size options below. Click the size you want- I used the 5×7 canvas.
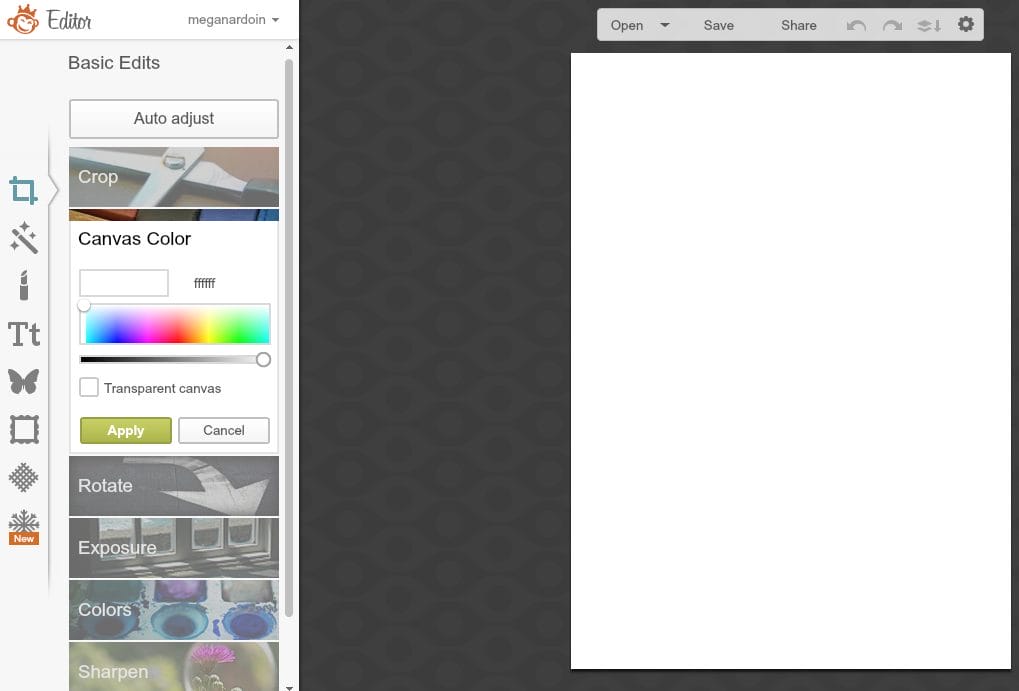
2) You will end up at this screen with your selected canvas size showing. You have the option at the left to change the color of the canvas- I left mine white.
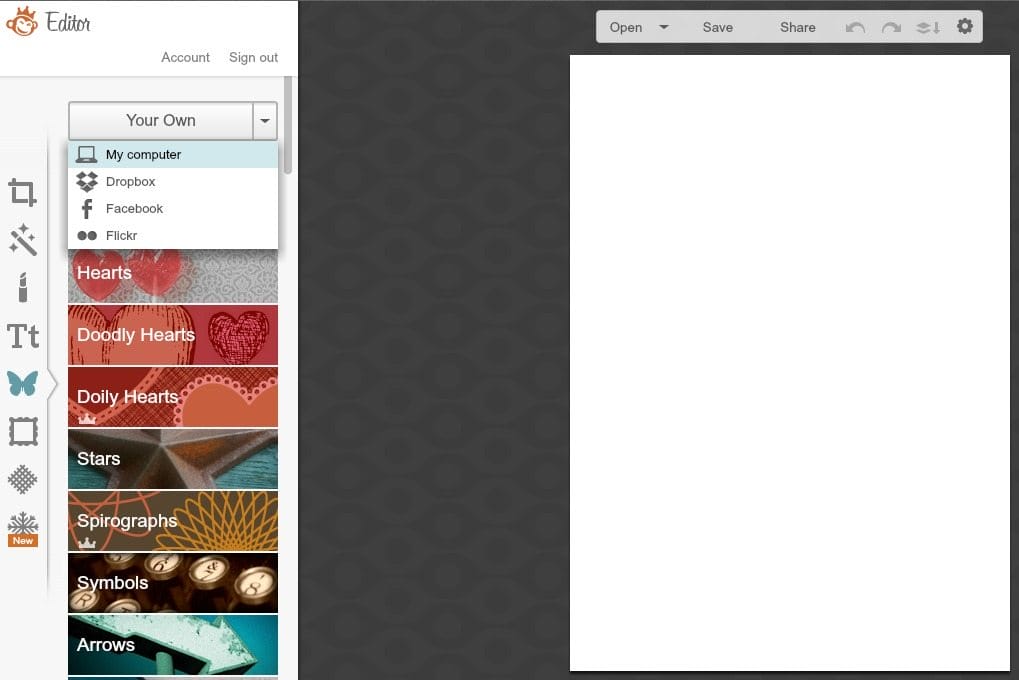
3) Click the “Butterfly” icon on the left sidebar, which provides the Overlay options. To add your own photos to the image, at the top, click “your own” and then click wherever you store your photos- for me I choose “My computer.” (This is the part I didn’t realize I could do!)
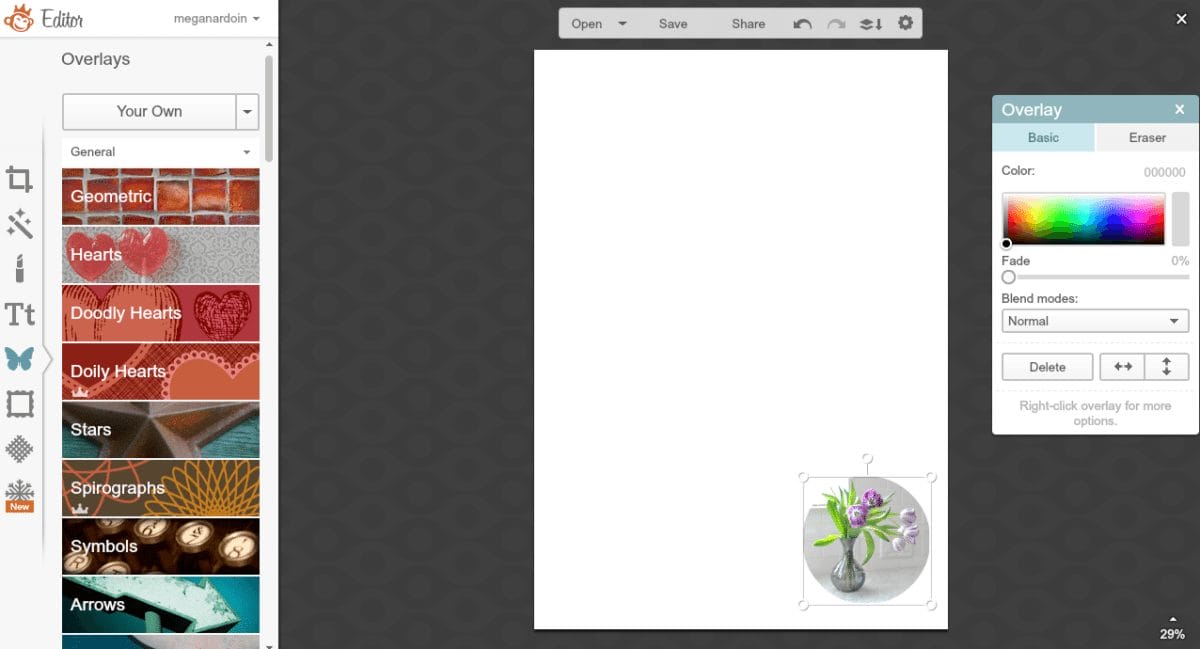
4) After you’ve selected an image from wherever you store it, it will appear on the canvas.
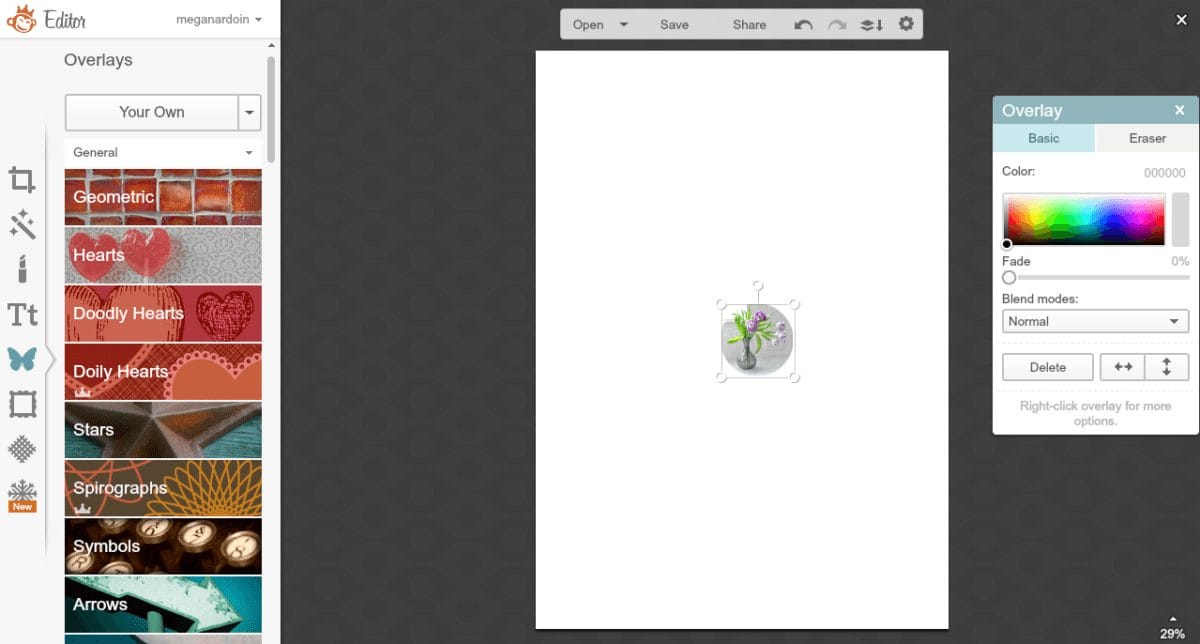
You can then move the image to where you want it to be and enlarge it, rotate it, etc.
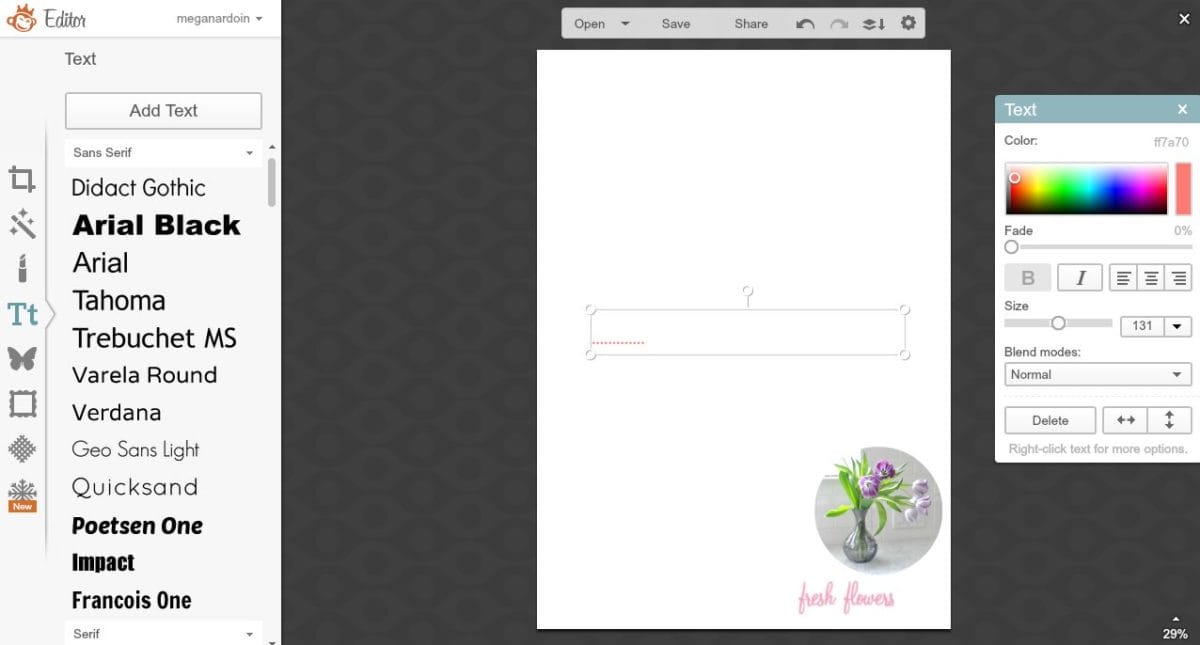
5) To add text, you can click the “Tt” icon in PicMonkey and use their fonts, but their selection is limited. To have access to all of their fonts, you need a subscription ($5 a month, I think).
I created a document in Pages (Mac), but you can use Word if you have a PC. Then I did a “screen shot” of the words I wanted and used the process above to bring them onto the canvas. To capture a screen shot on a Mac, push the following keys simultaneously “command, shift, 4” Here’s a screen shot of my Page document. (I used St. Marie font for the “Megan loves” and Mahogany Script font for the other words).


6) To make the dots, I used Geo Sans Light font and periods, then changed the color and size.
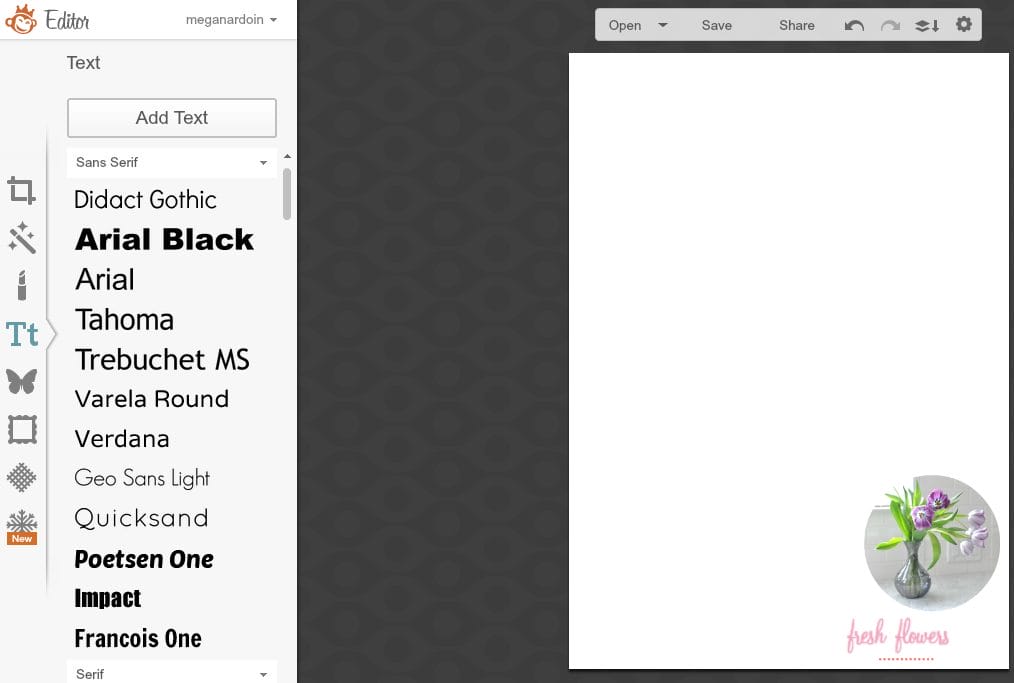
7) After inserting all of my photos and text, I created a boarder by clicking the Frame image below the Butterfly in PicMonkey. I chose “Simple Edge” and a pink hue, then you can change the thickness. My original image is around a 2 thickness.

8) Then save your image!
To Create A Round Image
1) Drag the image you want to use onto the PicMonkey “Edit” icon. Or click “Edit” and select the photo you want to use.

2) You’ll get this screen.

3) At the top of the main editing page, click “Crop.” In the drop-down menu, click square. (If you don’t, when you go to round the corners, you’ll end up with an oval).
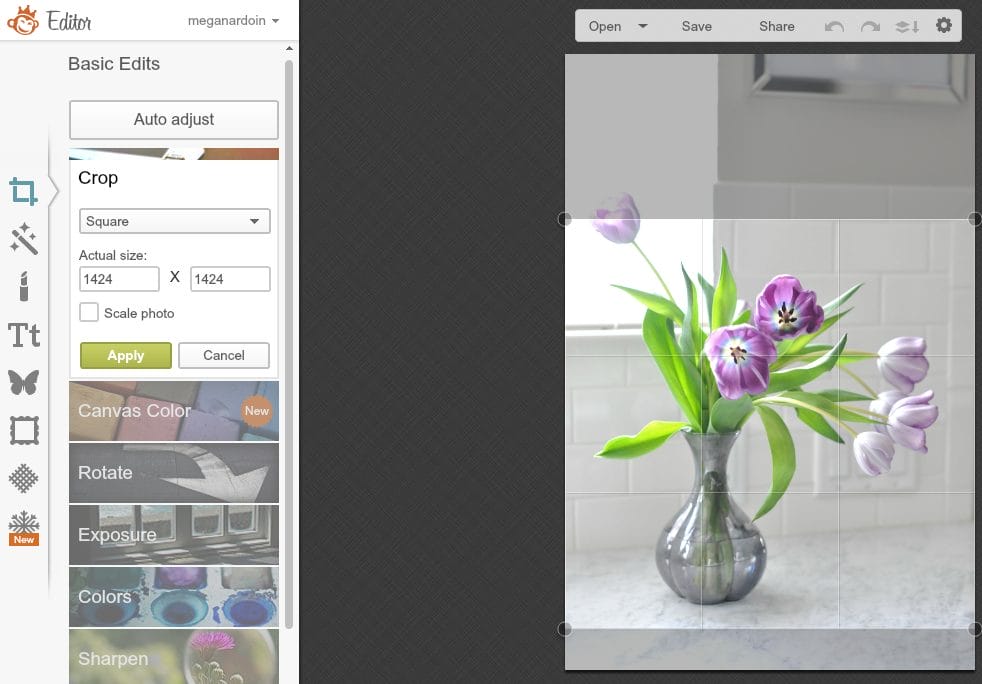
4) You can drag the edges of the square to make it larger or smaller. You’ll end up with the shot below.

5) To make the circle, click the Frame icon that is located below the butterfly. The first option at the top is “rounded corners”. Click that and slide the “corner radius” all the way to the right.
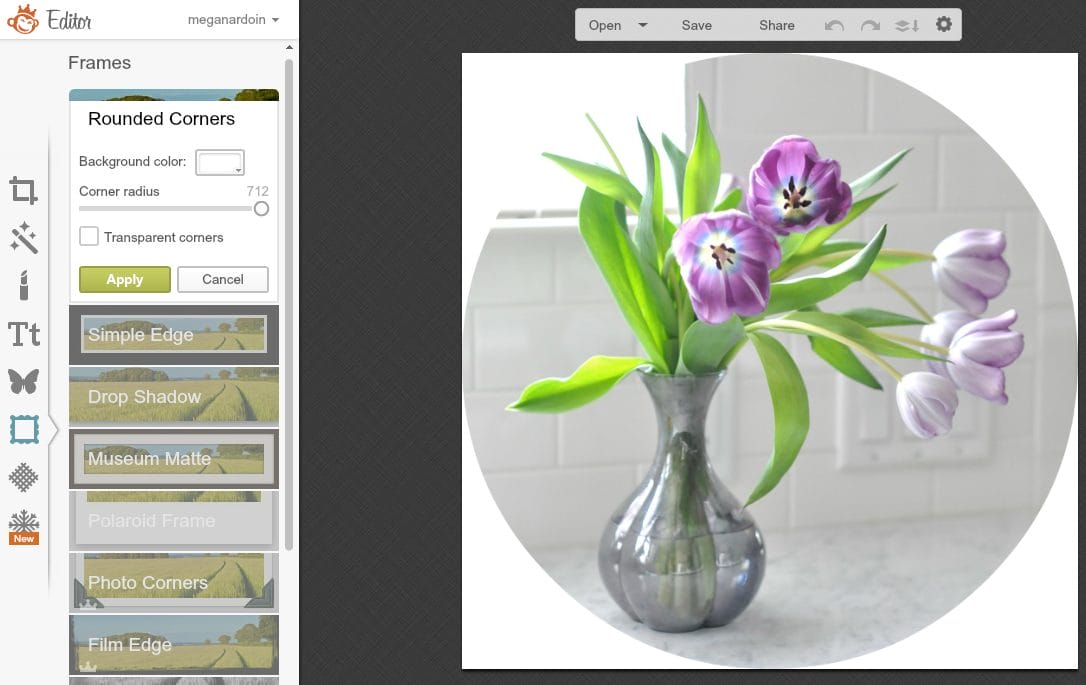
6) Then click save and save to your computer. The white portion won’t show up on a white background, so it will look like your picture is circular.

Is this helpful? Maybe you already figured this out?! Since I just started playing with this graphic option, I’m going to see what else I can do.
Do you use an editing program to make graphics, if so which one? I’d love to know so I can learn too.
________________
If you liked this post, you might also want to read:
__________________


Thanks so much! I don't have photoshop and was wondering if there was an alternative. I used this to create the top photos of my blog but never went back to it. I'll definitely give it another try. Thanks for this post!
Did you give it a try? I'd love to hear about your experience. 🙂
This is awesome. Thanks for the tutorial!
Thanks so much for this! I've been dying to know how to get a circle image!!! Plus such a clever idea to take a screen shot from pages. You are amazing!
So helpful!!! I've been playing around with Pic Monkey as well and this was such a great tutorial 🙂 Thanks!
http://www.chasingdreamsandcatchinglife.blogspot.com
Wow! This is the best tutorial. I have used pic monkey for so long and never knew I could do all that with it! Thank you for sharing!!!
very helpful! Thank you!
I have been going insane trying to make my own graphics in photoshop cc. I still plan on learning as I am one to not give up, but this will be great as a simpler alternative in the meantime. Thank you!
Yes, PicMonkey is really easy to use. If you find a good tutorial for photoshop graphics let me know!
oh my goodness, SO helpful! I was always wondering how people made such great graphics, thanks!
Love this! I have PicMonkey Royale and it's been great, but I had no idea you could do *this*! Thanks so much for the tip!!
This is awesome! PicMonkey is fabulous! I use to only use it for pictures but now I've realized the options are really endless! Love it! In fact, I just made my blog header using PicMonkey! -Xo
Plumtickledpink.blogspot.com
That's so cool! Not having to rely on a designer is awesome!
Love this tutorial! I too love graphics found on other blogs and can never seem to make them look decent in Photoshop. I will definitely have to give this a try.
Thanks so much, Megan! I use PicMonkey to spruce up my photos from time to time, but had not idea you could create these kinds of graphics as well. Very Helpful!
Such a great resource as an alternative to Photoshop!
Thanks Megan! Really helpful 🙂 I love that there are free photo editing options out there.
I love PicMonkey! What a great post to get the most out of it! Check out Canva as well it's also a free package, they have pre made designs to choose from as well!
Thank you Clare- I will!
I downloaded Google Chrome and now I can get on picmonkey. I still haven't figured out why I couldn't get on the site with Safari. Oh well, all is fixed now. I've missed it so!!
So awesome! Thank you for this tip! xo
Thank you so much for this post. I was just trying to figure this out and your post will help me out tremendously.
So helpful! Thank you for sharing, Megan! Now, if I could just take beautiful photos like yours!
Thank you so much for sharing tht Megan! I don't have photo shop, and I use Pic Monkey all the time, so this is very helpful for me! I am going to use it for sure!
Wonderful post Megan! This is so helpful and your tutorial is easy to follow. Thank you for putting this together!
Thanks so much for taking the time to make this tutorial for us bloggers! I bookmarked it so I can use it on my photos.
Annie XO
No problem- Hope it helped!
This is soo helpful!!! I don't know how to use photoshop either so I've been trying to figure out how to design my about me in pic monkey too! So thank you!!!
Yes – love PicMonkey! Someday I'll graduate to Photoshop……….but someday is way far in the future for me I think. 😉
I agree Carmel!
Great tutorial Megan! So fun to play around in sites like this!
This is a great tutorial, thanks Megan! I love PicMonkey but have never used this function. I've thought about getting Photoshop, but PicMonkey is free so I just can't bring myself to do it. 🙂
Yep, as long as it does what I need, I keep coming back to it.
LOVE Picmonkey! It's such a life saver!
This is such a great tutorial!! Thank you so much – I don't want to buy photoshop and pic monkey is such a great alternative!!
I know- photoshop is really expensive.
I never knew how to create a round image! Thanks for the cool tips. PicMonkey is so much fun to play around with.
The round image is a favorite of mine- so simple to do!
So helpful! Thanks for posting. I'll have to try this out soon!
This is really useful and easy to understand 🙂 Thanks so much for posting this. I also love the way your blog look 🙂